Inquiry
2026-05-29
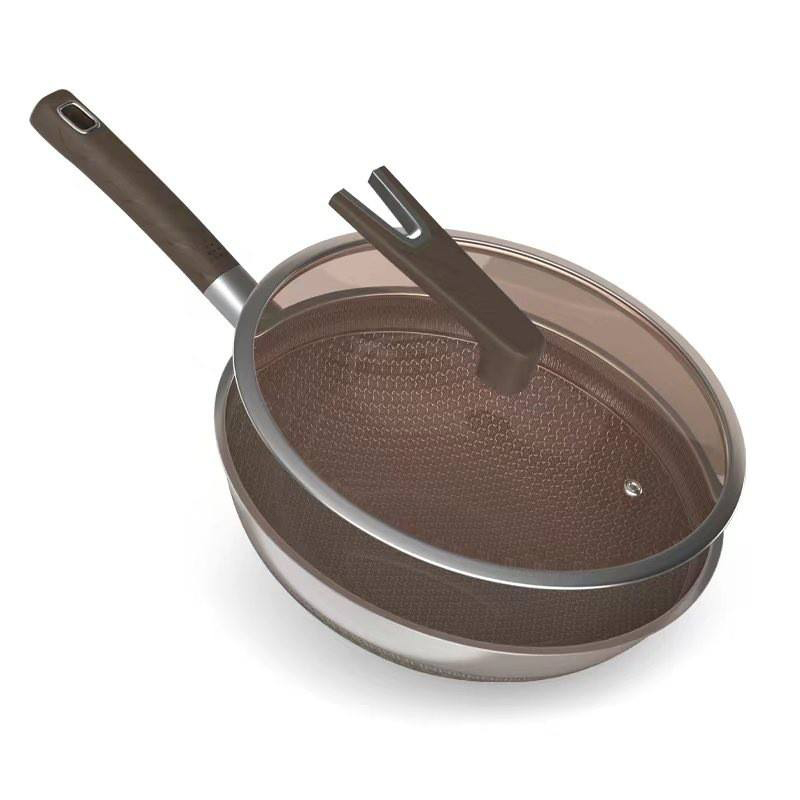
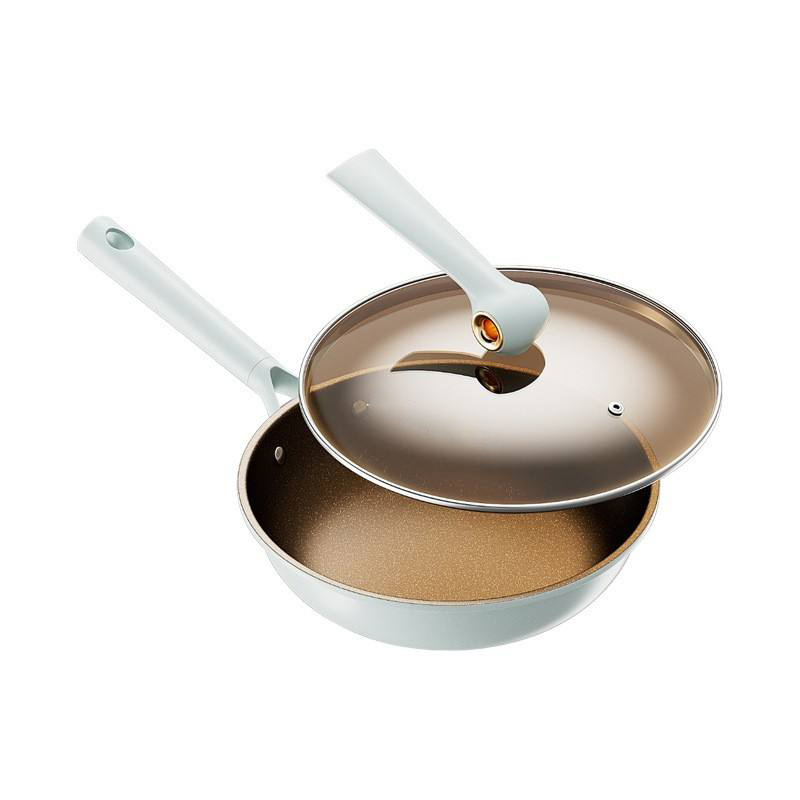
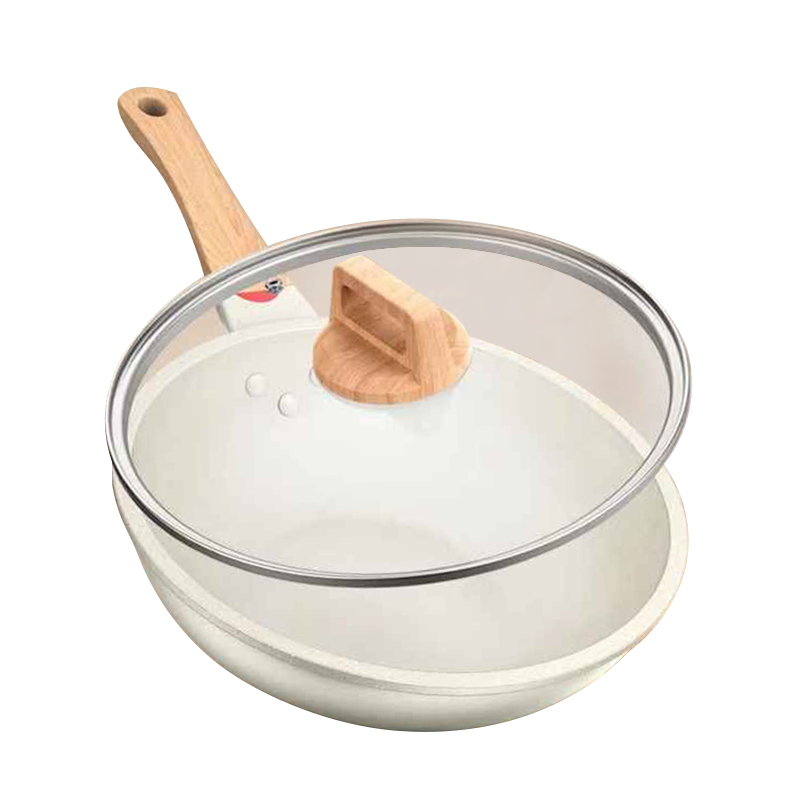
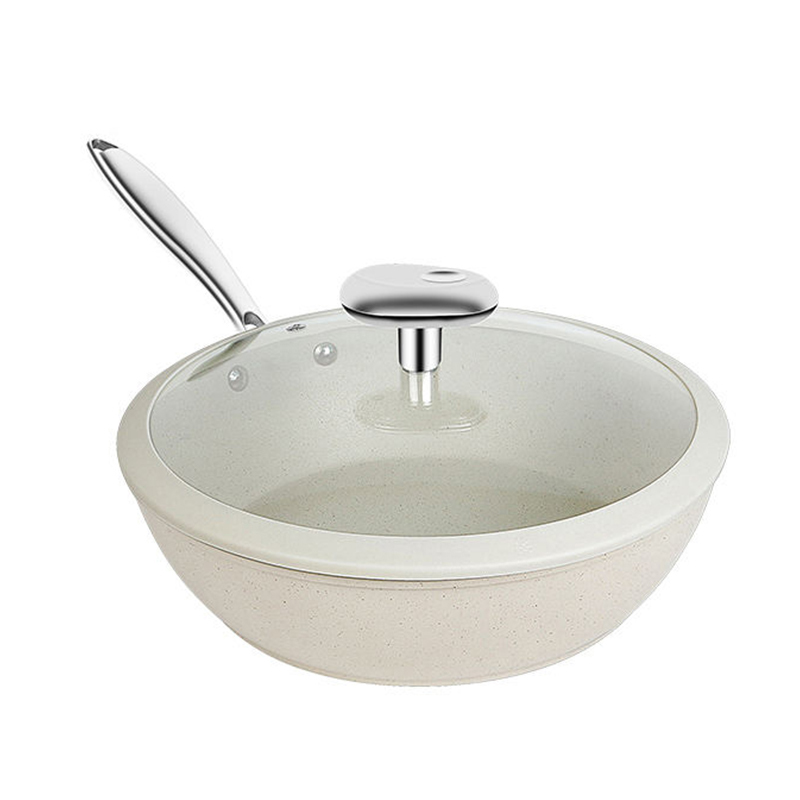
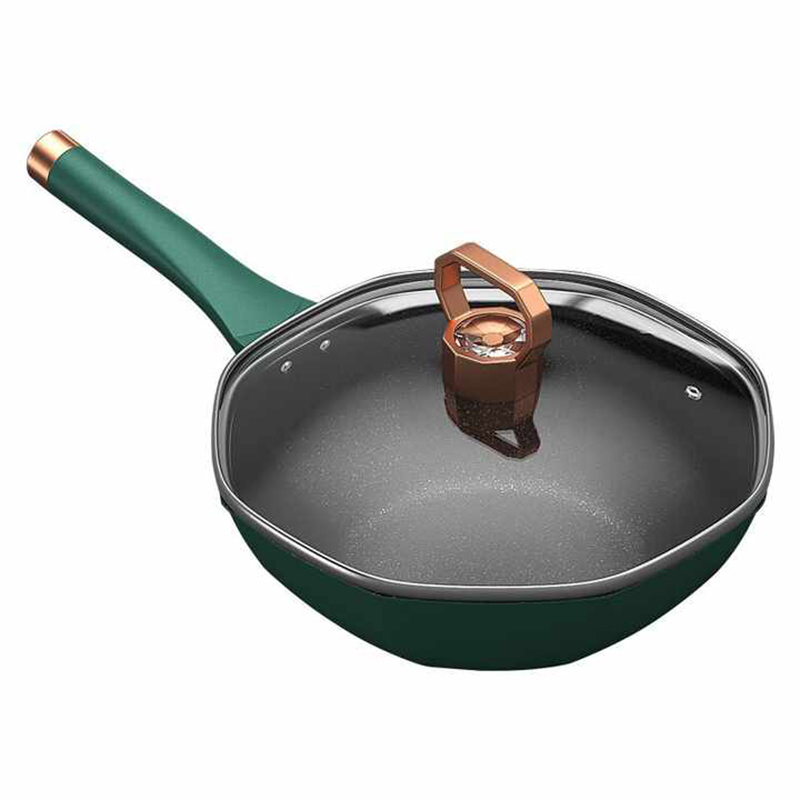
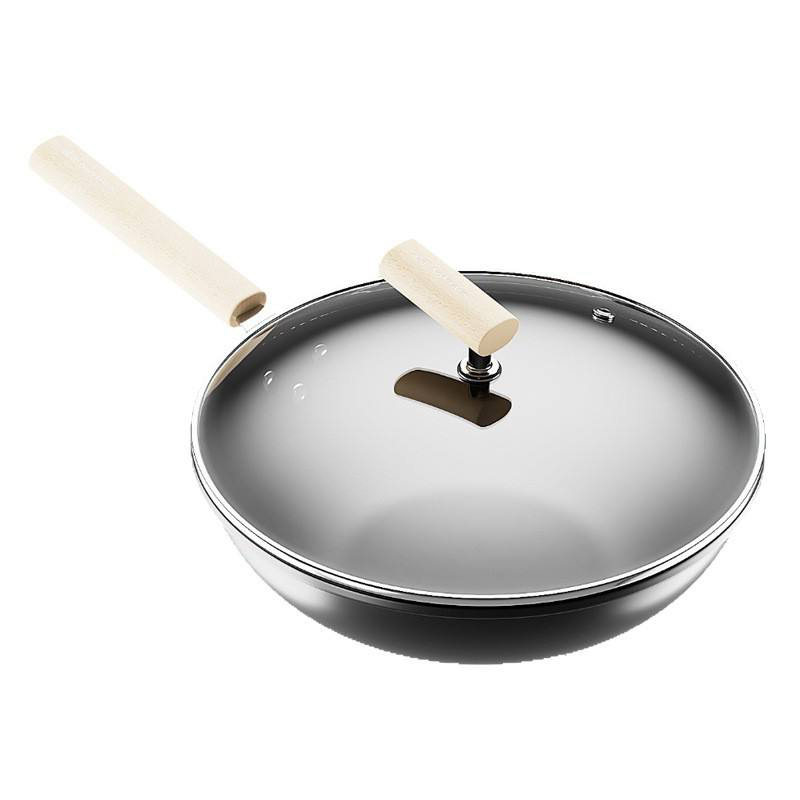
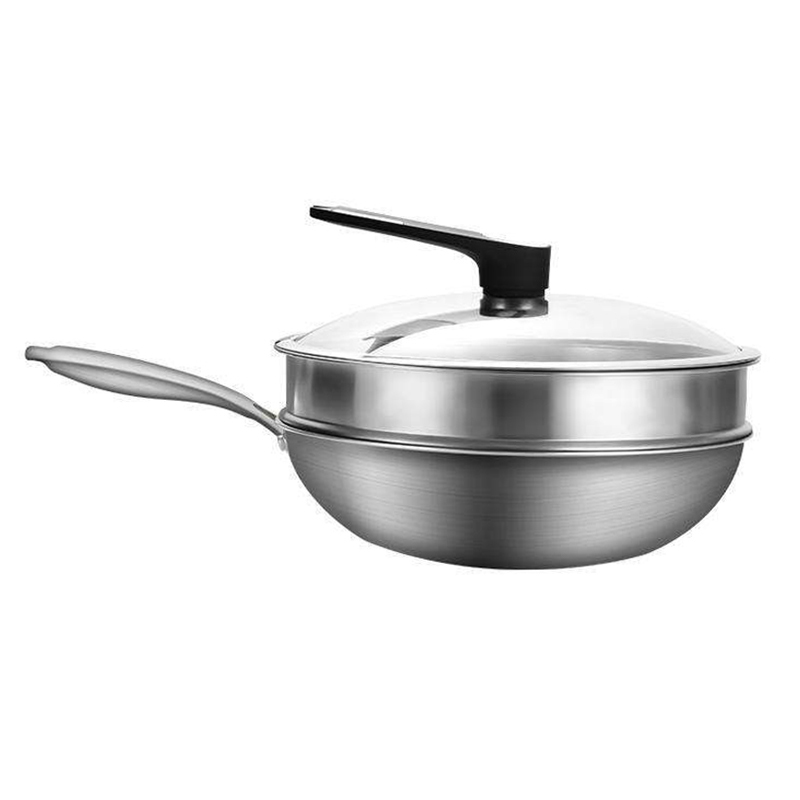
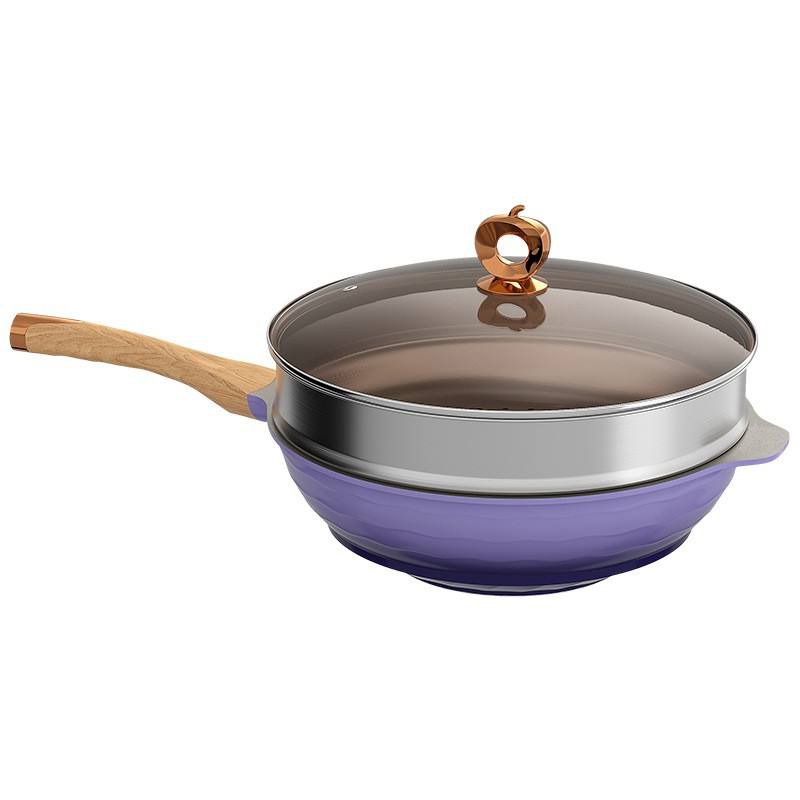
A Stainless Steel Nonstick Frying Pan with Lid is used in many kitchens for everyday meals, from quick stir frying to slow covered cooking. After repeated use, the surface rarely stays in the same condition. What remains after cooking depends heavily on the type of food and the way heat moves through the pan.
Oil spreads into a thin layer, starch tends to become sticky once cooled, and protein-based foods can leave tighter marks on the surface. When a lid is used during cooking, steam and oil vapor rise and later settle on the inner lid surface, adding another layer that needs attention during cleaning.
Cleaning such cookware is less about a single routine and more about reading what is left behind after cooking. Different residue behaves differently, and the way it is removed changes depending on that behavior.
After cooking, residue does not appear in one fixed form. It changes based on ingredients and heat exposure, which is why cleaning steps often feel different from one meal to another.
Oil-heavy cooking leaves a thin greasy layer that spreads quietly across the inner surface. Even when the pan looks empty, a faint film may still be present near the edges where heat gathers more strongly.
Starchy foods behave in another way. Rice, noodles, or thick sauces can leave a sticky coating once moisture evaporates. When this layer cools, it attaches more firmly and does not move easily with water alone.
Protein-based foods such as eggs or meat tend to bond with the surface under heat. After cooling, darker marks can appear in certain spots where contact was stronger during cooking.
The lid adds another layer of residue. During covered cooking, steam carries small oil particles upward. When the temperature drops, condensation forms inside the lid and leaves a mix of moisture and grease.
A simple way to view residue behavior:
| Food Type | What Stays Behind | How It Feels After Cooling |
|---|---|---|
| Oil-based cooking | Thin oil layer | Slippery surface film |
| Starchy dishes | Sticky coating | Tight adhesion after cooling |
| Protein foods | Dark spots | Local surface bonding |
| Sauce-based meals | Mixed layer | Uneven residue pattern |
| Covered cooking | Steam marks on lid | Moisture and oil blend |
Each type of residue reacts differently to water, sponge movement, and soaking time. Treating them the same often leads to longer cleaning time.
Before washing begins, the condition of the pan after cooking deserves a quick look. Surface temperature is one of the first things to notice. Washing while still hot may affect the coating feel over time, so a short cooling period is usually enough before cleaning starts.
Residue type also matters. Light oil film behaves differently compared to burnt spots or sticky starch layers. A quick visual check helps decide whether soaking is needed or whether simple rinsing is enough.
The lid often holds hidden moisture. Steam trapped during cooking turns into small droplets once cooled. Opening the lid early allows this moisture to escape instead of staying inside sealed areas.
A practical checking habit often includes:
This small pause before washing often reduces the effort needed later during cleaning.
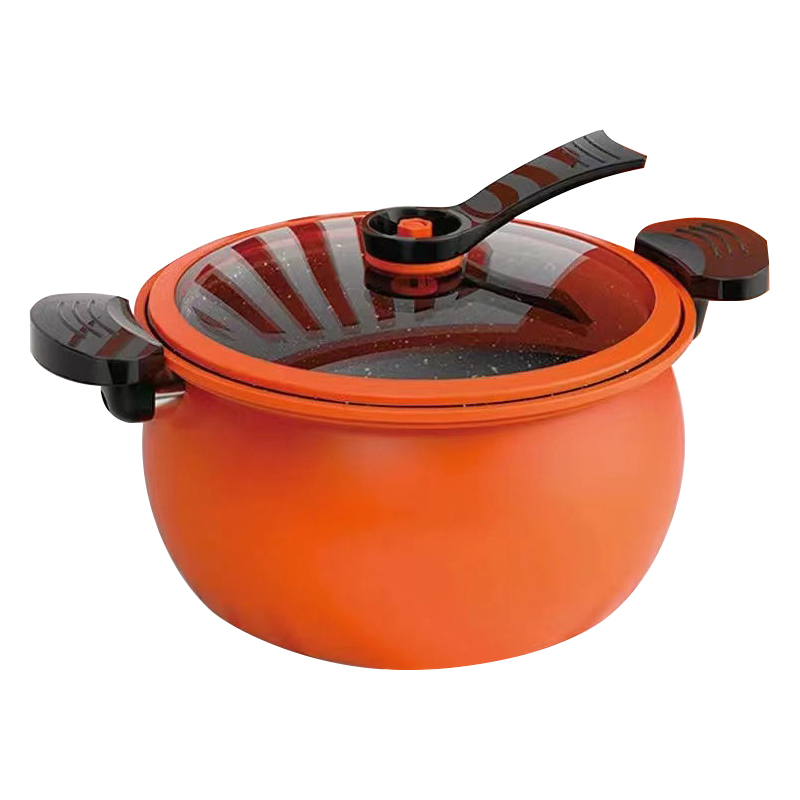
Light oil residue is the most common condition after daily cooking. Even when food is removed completely, a thin layer of grease often remains on the inner surface.
A simple rinse with warm water is usually enough to remove loose particles. After that, a small amount of mild cleaning liquid helps lift the oil layer without strong friction.
A soft sponge is more suitable than rough cleaning tools. Instead of pressing hard, steady movement across the surface helps gather residue into one direction. Circular scrubbing is less effective for oily layers since it tends to spread the film around.
A simple cleaning routine for light residue:
The lid often collects a mix of steam and oil vapor. Wiping it after each use prevents gradual buildup around inner edges, where moisture tends to stay longer.
Starch behaves differently from oil. Once it cools, it forms a sticky layer that attaches more firmly to the surface. Rice, noodles, and thick sauces often create this condition.
Instead of immediate scrubbing, soaking usually works more smoothly. Warm water softens the layer and reduces its grip on the surface. After some time, residue begins to loosen naturally.
When cleaning starts after soaking, gentle wiping is often enough to remove most of the sticky layer. Pressure is not necessary at this stage.
Common areas where starch collects include:
A practical cleaning approach:
When starch is allowed to dry fully, cleaning becomes more time consuming. Keeping it from drying inside the pan helps reduce later effort.
Burnt marks usually appear when heat stays high for too long or liquid inside the pan reduces more than expected during cooking. The residue often looks darker and feels more attached to the surface compared with oil or starch. In many cases, it does not come off with simple rinsing, which often leads to unnecessary scrubbing.
Strong rubbing is a common reaction, though it rarely gives stable results. A slower method tends to work in a more controlled way and avoids unnecessary stress on the coating.
Warm water is usually the starting point. Once the pan is filled and left for a while, the hardened layer begins to loosen slightly. Even when the change is not obvious at first glance, the surface bond becomes weaker, which makes later cleaning easier.
After soaking, cleaning can be done step by step. A soft sponge moving across a wider area often lifts residue more evenly than focusing on one spot. Burnt layers rarely come off in a single attempt, so repeating light cleaning often works better than applying force.
The lid also collects residue after high heat cooking. Steam rises during heating, carrying fine oil particles. When the temperature drops, those particles settle on the inner lid surface and form a thin film. A simple rinse followed by gentle wiping usually handles this condition without difficulty.
A practical cleaning flow for burnt residue:
Burnt stains rarely disappear instantly. They respond more to patience than effort, and gradual cleaning usually keeps the surface in better condition over time.
The lid is often treated as an accessory, yet during cooking it collects a large amount of residue without being noticed. Positioned above the pan, it stays directly in the path of steam and oil vapor.
As cooking continues, steam rises and carries tiny particles upward. Once cooking stops, condensation forms inside the lid. These droplets slowly gather along the inner surface and edges, mixing with oil particles left in the air.
Over time, this creates a thin layer that is not always visible at first. The buildup usually appears in specific areas:
If the lid is only rinsed quickly, some of these areas remain untouched. That is why separate cleaning often makes a difference in long-term use.
A simple cleaning routine for the lid:
When lid care becomes part of the normal routine, odor buildup and sticky film tend to appear less often, especially after repeated covered cooking.
Daily cleaning habits seem simple, yet small actions repeated often can slowly affect cookware condition.
One common issue comes from using rough cleaning tools. Hard brushes or metal pads may remove residue quickly, though they can leave fine marks on the nonstick surface. These marks are not always visible immediately, but they may change how food behaves during later cooking.
Another frequent habit is washing the pan immediately after cooking while the surface is still very hot. Sudden temperature changes can create stress on the material. Allowing a short cooling period before washing keeps the surface more stable during long-term use.
Strong cleaning liquids are sometimes used for stubborn residue. While they may reduce stains, repeated use is not always necessary. In many cases, soaking combined with gentle wiping handles the same situation with less impact on the surface layer.
Hidden areas are often missed during quick cleaning. Attention usually goes to the center of the pan, while edges and joints remain less cleaned. Over time, residue builds in these areas and becomes harder to remove.
Typical overlooked spots include:
A steady routine that covers all areas, even briefly, usually works better than focusing only on visible stains.
Cooking style has a direct effect on how much effort is needed afterward. Even with the same pan, residue changes depending on heat level and moisture content.
Stir-frying often leaves a thin oil layer spread across the surface. It is light, but covers a wide area. A quick rinse and wipe are usually enough in this situation.
Simmering or covered cooking creates a different pattern. Liquid reduction leaves residue around edges, while steam forms marks inside the lid. Cleaning tends to focus more on corners and inner lid surfaces.
High-heat searing produces stronger contact between food and surface. After cooling, darker spots may remain where heat was more concentrated. Soaking becomes more useful before wiping in these cases.
Sauce-based cooking often leaves layered residue. Oil, starch, and seasoning mix together and form uneven patches across the pan. Cleaning usually requires more than one step to remove different layers.
A simple view of cleaning behavior:
| Cooking Method | Residue Type | Cleaning Focus Area |
|---|---|---|
| Stir-frying | Light oil film | Surface wipe and rinse |
| Simmering | Steam + residue mix | Lid and rim edges |
| Searing | Dark bonded marks | Soaking before cleaning |
| Sauce cooking | Layered residue | Step-by-step cleaning |
Cooking style shapes cleaning needs more than expected, and recognizing this makes daily maintenance more manageable.
Storage often feels like the final step, though it influences how the cookware behaves during the next use. Even after washing, small moisture traces may remain in hidden areas if drying is not complete.
Leaving the pan and lid to dry fully before stacking helps reduce trapped humidity. When surfaces are closed together too early, moisture has limited space to escape.
Separating lid and pan during storage improves airflow. The inner lid surface dries more evenly when not pressed against another surface.
A simple storage routine:
Storage does not require special conditions. It mainly depends on allowing air movement and avoiding enclosed moisture. Over time, this habit helps reduce odor and keeps cleaning routines more predictable.
Recommended Products


NEWDREAM: +86 13646697735
HUANGXUKITCHENWARE: +86 19557954954


Donggao Fenghuangshan Industrial Zone, Tongqin Town, Wuyi County, Jinhua City, Zhejiang Province, China
Copyright © Wuyi Huangxu Industry & Trade Co., Ltd. All Rights Reserved.
Cookware Factory

 English
 русский
 日本語
日本語 Español
 Deutsch